Companion Planting
Water-Wise Lavender: Companion Planting in Crate Gardens
Learn how to lavender water saving companion planting in your apartment. Step-by-step guide with expert tips.
Water-Wise Lavender: Companion Planting in Crate Gardens
Okay, so picture this: you're sitting on your patio, the sun's warm, there's a gentle breeze, and you catch the most incredible, calming scent. That's lavender, right? Pure bliss. But if you're like me, living in a city, space is always a premium, and honestly, so is water. Especially for us urban gardeners, every drop counts. That's why I've been experimenting like crazy with growing lavender in containers, and lately, I've had some seriously impressive results focusing on lavender water saving companion planting in a wooden crate. Think beautiful blooms, less fuss, and a whole lot less guilt about your water bill. Seriously, it's a game-changer.
Why Lavender Does So Well with Companion Planting
You know, plants aren't just chilling alone in the wild. They're part of ecosystems. And we can totally replicate that magic, even in a small crate. Lavender, bless its heart, comes from arid, rocky places. It hates wet feet. Drench it too much, and it's game over. That's why traditional watering advice often leaves beginners scratching their heads – or worse, with soggy, dead plants. But by pairing it with the right plant pals, we can create a mini-ecosystem that naturally helps regulate soil moisture, suppress weeds, and even deter some pests. It’s like having a tiny, self-sufficient garden gang.
Last March, my first batch of lavender in a wooden crate got super leggy and pale because I skimped on good drainage and sun – lesson learned the hard way that a plant's origins matter! Fast forward a few seasons, and I've cracked the code. The right companions can make all the difference, creating a microclimate that lavender absolutely adores. It's not just about what you plant next to it; it's about understanding how those plants interact to optimize conditions, especially when you're aiming for lavender water saving companion planting. We're talking less evaporation, better nutrient cycling, and happier plants overall.
What You'll Actually Need
Alright, let's get down to brass tacks. You don't need a ton of fancy stuff for this, which is part of its charm.
Your Container: The Wooden Crate
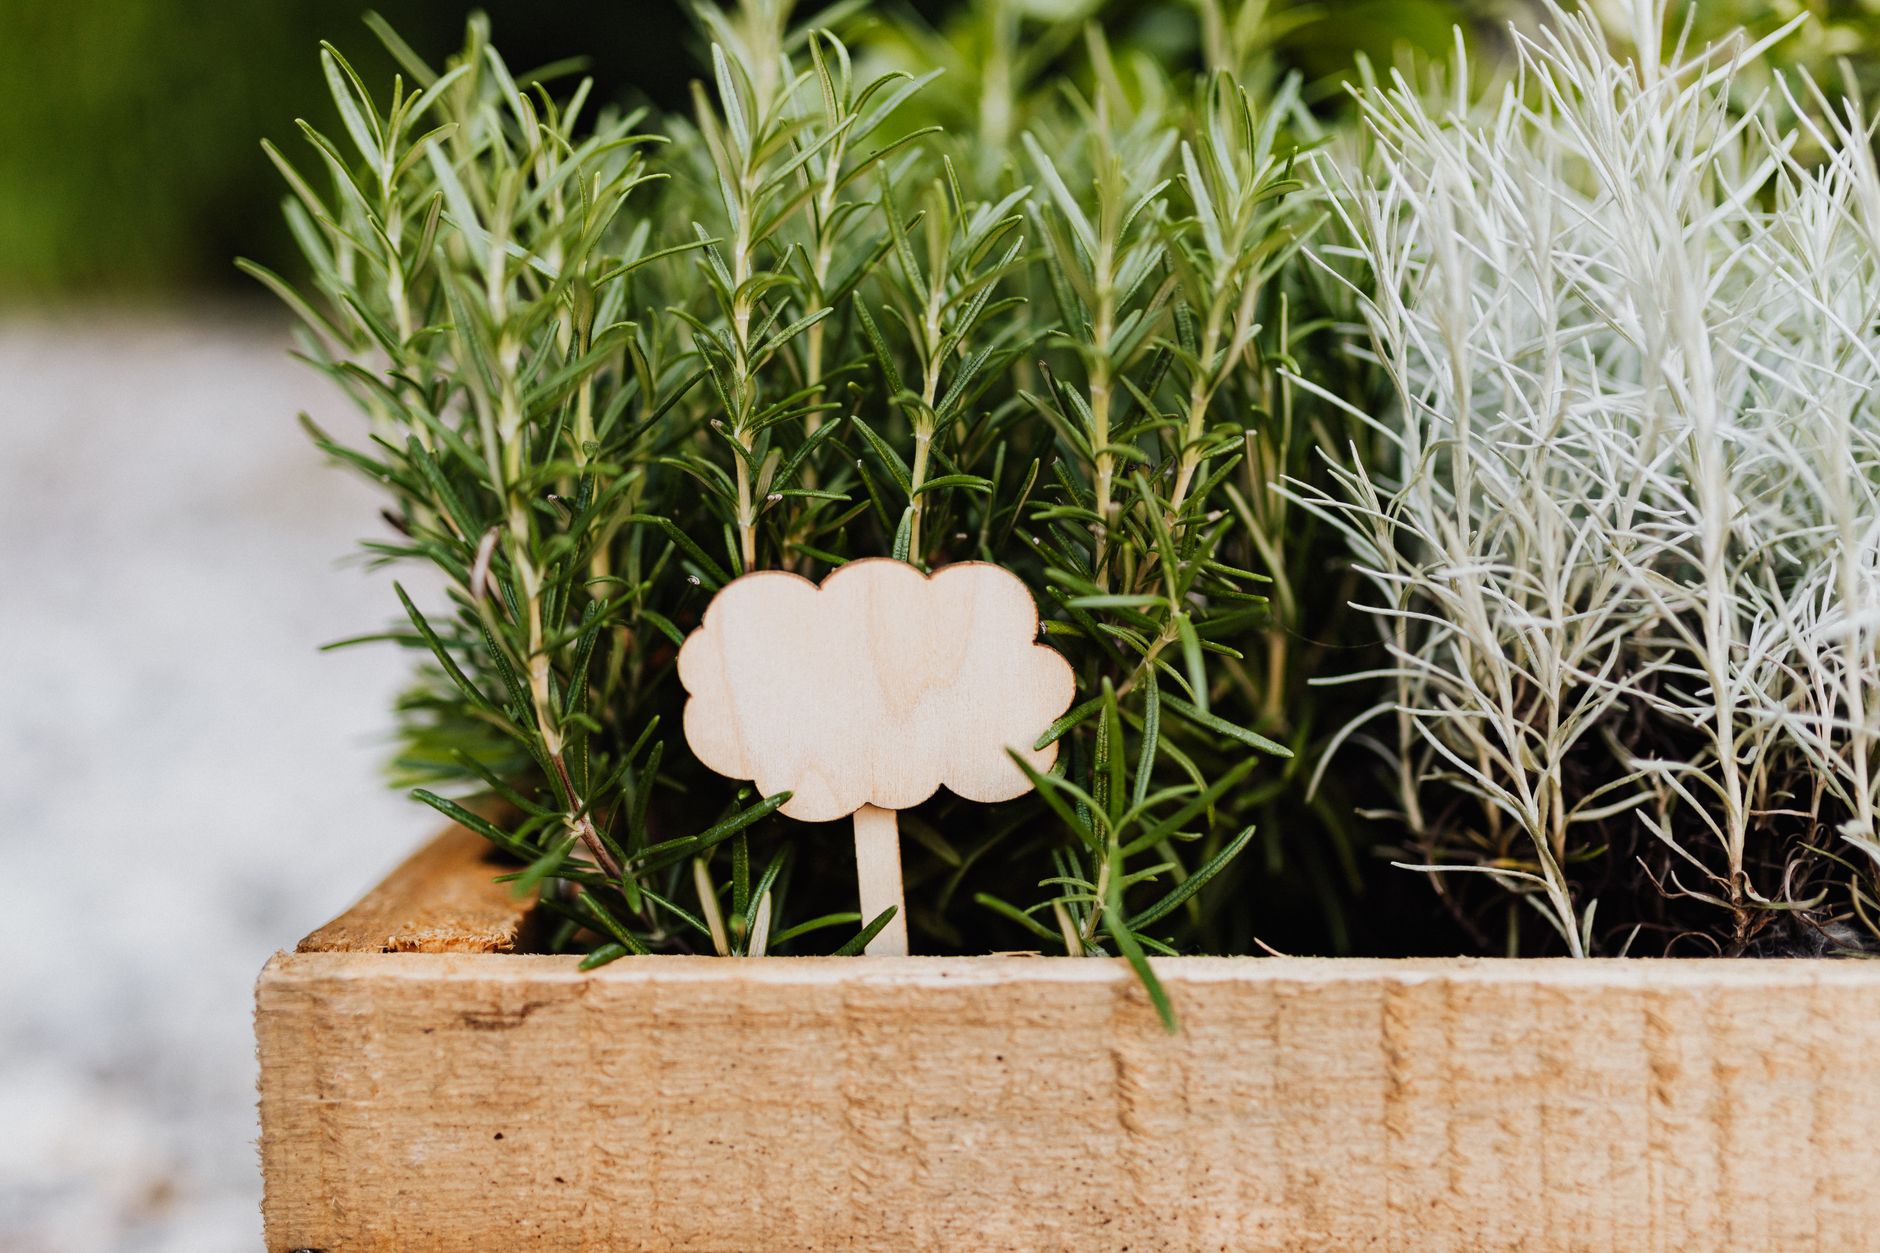
I love wooden crates for this. They breathe! Plastic pots can hold too much moisture, but wood lets a little air in and helps wick away excess dampness. Just make sure it's untreated wood, or at least treated with a food-safe sealant if you're worried about chemicals. Plus, they look super charming. You can find old wine crates or even sturdy fruit boxes. Drill a few extra drainage holes if they don't have them already – aim for at least 3-5 holes, about ½ inch in diameter. This really is non-negotiable. Trust me on this one.
The System: Companion Planting
This is where the magic happens. We're going to pick plants that either love similar conditions or provide some benefit to the lavender. For water-wise lavender, I always go for things that appreciate well-drained soil and don't mind a bit of a dry spell.
- Lavender (duh): I usually go for English lavender varieties like 'Munstead' or 'Hidcote'. They're hardy, compact, and smell incredible.
- Thyme (creeping or upright): My absolute favorite companion! Thyme forms a beautiful living mulch, shading the soil and reducing evaporation. It also loves similar dry conditions.
- Sedum (low-growing varieties): These succulents are like tiny water reservoirs. They thrive on neglect and their shallow roots don't compete much with lavender. Plus, they add a nice textural contrast.
- Marjoram or Oregano: Another herb that loves Mediterranean conditions. They're excellent for ground cover and their scent can help deter some common garden pests.
Potting Mix & Amendments
This part matters a lot. Don't use regular potting soil straight out of the bag. Lavender needs excellent drainage. I swear by a mix that's about 50% good quality potting mix (like FoxFarm Ocean Forest or a similar organic mix), 25% perlite or pumice, and 25% coarse sand or small gravel. This creates a really light, airy, fast-draining home for your plants. Honestly, I think most beginners overthink this part, but get your soil right, and you're halfway there.
Tools
- Small trowel
- Gardening gloves (optional, but good for messy soil)
- Hand pruners
- Watering can with a fine rose attachment
The Growing Process, Step by Step (3-4 Weeks)
Let's break this down. It’s pretty straightforward, but timing and attention to detail make all the difference.
Week 1: Prepping the Crate & Planting
- Line the Crate: If your crate has wide gaps, you can line it with landscape fabric or a few layers of newspaper. This keeps the soil from washing out while still allowing drainage.
- Mix Your Soil: In a separate bucket or wheelbarrow, thoroughly combine your potting mix, perlite/pumice, and sand. You want it light and crumbly, not dense.
- Add a Drainage Layer (Optional but Recommended): I usually put an inch or two of coarse gravel or broken terra cotta pieces at the very bottom. It’s extra insurance against soggy roots.
- Partial Fill: Fill your crate about two-thirds full with your custom soil mix.
- Position Your Lavender: Gently remove your lavender plant from its nursery pot. Loosen the roots a little if they're tightly bound. Place it towards the center of the crate, making sure the top of its root ball is about an inch below the crate's rim.
- Add Companions: Now, strategically place your companion plants around the lavender. I usually put two thyme plants on opposite sides, and then tuck in a sedum or marjoram near the edges. Make sure they have enough space to spread a little without crowding the lavender too much. For a standard wine crate, that's usually one lavender, two thyme, and one sedum/marjoram.
- Backfill: Fill the rest of the crate with soil, gently firming it around the plants. Don't pack it down too tight!
- First Watering: Water thoroughly until water drains from the bottom. This settles the soil.
- Sunlight: Place your crate in a spot that gets at least 6-8 hours of direct sunlight. Lavender is a sun worshipper.
For the rest of this first week, check the soil daily. Water only when the top 1-2 inches feel dry to the touch. This initial period is crucial for plants to establish.
Weeks 2-3: Settling In and Light Care
By now, your plants should be showing signs of settling in. New growth, perky leaves – that's what we want to see!
- Watering: This is where the lavender water saving companion planting really shines. With the ground cover from your thyme or sedum, you'll notice the soil stays moist longer, but crucially, it still drains well. I usually find myself watering every 3-5 days in warm weather, sometimes less if it's cooler or humid. Always stick your finger in the soil! Don't just water because you think you should. The goal is to let the soil dry out a bit between waterings.
- Pest Watch: Keep an eye out for any hitchhikers. Generally, lavender and its companions are pretty pest-resistant due to their strong scents, but it's good to be vigilant.
- Light Pruning: If you see any yellowing or squishy leaves on the lavender, snip them off. Same for any leggy bits on the companions. This encourages bushier growth. Remember, lavender doesn't like heavy pruning, especially in its first year, but light deadheading is okay.
I once had an issue with tiny whiteflies because I put my crate too close to an overwatered basil pot. It was a classic "damp conditions attract pests" scenario. Moved the basil, and the problem cleared right up. So, heed my advice on the watering!
Week 4: Observation and Continued Care
Your crate garden should be looking pretty fantastic now. The companions will be filling out, and your lavender should be putting on robust new growth.
- Adjust Watering: Continue to monitor soil moisture carefully. The weather will dictate your schedule. Hot, windy days mean more frequent checks. Cooler, cloudy days mean you can likely wait.
- Fertilizing (Lightly): If your potting mix had a slow-release fertilizer, you probably don't need to do anything. If not, a very dilute, balanced liquid feed (like a 5-5-5 or similar) once this week is plenty. Lavender doesn't need a lot of food.
- Enjoy the Scents: Seriously, just go outside and breathe it in. That beautiful fragrant air is your reward for nailing this whole lavender water saving companion planting thing.
Mistakes I've Made (So You Don't Have To)
- Overwatering, obviously: This is the number one killer for lavender. I've done it more times than I care to admit. Those first plants in my Brooklyn apartment? RIP. Now, I have a strict "finger test" rule. If it's not dry, I don't water.
- Too small a crate: While these are microgardens, lavender still needs room for its roots. Skimp too much on size, and you'll have stunted plants. Aim for something at least 10-12 inches deep and wide for one main lavender plant. For good companion planting, slightly larger is better.
- Forgetting drainage holes: Rookie mistake, even for me sometimes if I'm rushed. A beautiful crate with no way for water to escape is a death trap.
- Ignoring companion plant needs: While they're generally hardy, even companions need a little love. Make sure they're also getting adequate sun and aren't being totally overshadowed.
Little Things That Make a Big Difference
- Sun, Sun, Sun: I can't stress this enough. Lavender needs full sun. Like, all day. If you're in an apartment on the north side, this might not be the project for you, or you'll need grow lights.
- Air Circulation: Don't cram your crate into a corner where air can't move around it. Good airflow helps prevent fungal issues, especially critical for plants that hate humidity.
- Mulching (beyond companions): If your companions haven't filled out yet, a thin layer of small pebbles on the soil surface can further reduce evaporation and look nice.
- Regional Hardiness: Know your USDA hardiness zone. Lavender is generally pretty tough, but some varieties are more cold-tolerant than others. You can check the USDA Plant Hardiness Zone Map to confirm.
When to Harvest and What to Expect
You're probably not going to get a huge harvest in the first 3-4 weeks. Your goal right now is establishment. However, you might see some small flower spikes starting to emerge by week 4 or 5, especially if you started with a more mature plant. For a really good harvest of those fragrant blooms, you'll often wait until late spring/early summer. When about half the flowers on a stem are open but before they've gone completely to seed, that's your sweet spot. Snip the stems just above a set of leaves. This encourages more branching and flowers.
And hey, if you're keen on exploring more about how plants help each other out, I’ve got tons of info! Seriously, I’ve written about companion planting tomatoes and basil, carrots and radishes, and even a whole general guide on companion planting for small spaces. It’s truly amazing what a little plant partnership can do for your microgarden.
So, go forth, grab a crate, and get ready for some wonderfully fragrant, water-wise lavender. You're going to love it!
Keep exploring related guides
Follow the topic cluster below to discover more growing methods, troubleshooting advice, and crop-specific tutorials.