Vertical Gardening
How to Start a Vertical Garden on Your Apartment Balcony
Start a vertical garden on your apartment balcony with our complete guide. Space-saving techniques and best plants for small urban spaces.
Living in an apartment doesn't mean giving up on your gardening dreams. Vertical gardens transform small balconies into productive growing spaces, allowing you to cultivate fresh herbs, vegetables, and flowers in just a few square feet.
Why Vertical Gardening Works for Apartments
Vertical gardens maximize growing space by utilizing wall height rather than floor area. A typical 4-foot vertical system can hold 20-30 plants in the same footprint as a single large pot. This approach is perfect for balconies, patios, and even indoor spaces with adequate light.
Benefits of Vertical Growing
- Space efficiency: Grow 10x more plants per square foot
- Better air circulation: Reduces disease and pest problems
- Easier harvesting: Plants at comfortable heights
- Improved drainage: Gravity assists water flow
- Aesthetic appeal: Creates living wall art
Choosing the Right Vertical System
Several vertical garden systems work well for apartments:
Pocket Planters
Fabric or felt pocket systems attach to walls or railings. They're lightweight, affordable, and ideal for herbs and small leafy greens. Most hold 6-12 plants and cost $20-50.
Tiered Shelving
A-frame or ladder-style shelving creates multiple growing levels. This option works well for heavier plants like tomatoes and peppers since each tier supports individual pots.
Modular Panel Systems
Interlocking plastic panels with built-in reservoirs offer the most professional look. They include automatic watering channels but cost more ($100-300).
Best Plants for Vertical Gardens
Choose plants that thrive in containers and don't mind restricted root space:
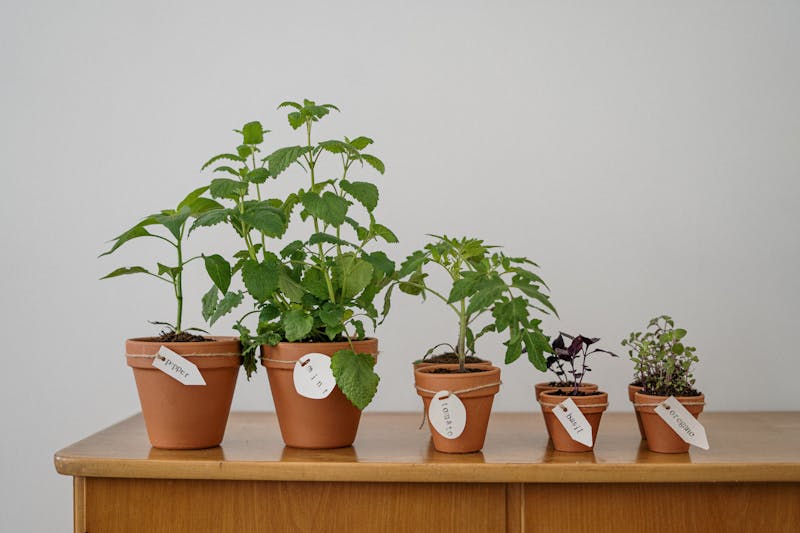
Herbs (Best for Beginners)
- Basil - 6" pot, full sun
- Mint - 4" pot, partial shade
- Cilantro - 6" pot, partial sun
- Parsley - 6" pot, partial shade
- Thyme - 4" pot, full sun
Leafy Greens
- Lettuce varieties - 4-6" pot
- Spinach - 6" pot
- Arugula - 4" pot
- Swiss chard - 8" pot
Compact Vegetables
- Cherry tomatoes (determinate varieties)
- Bush beans
- Compact peppers
- Radishes
Step-by-Step Setup Guide
Step 1: Assess Your Space
Measure your balcony and note sun exposure. Track sunlight for 2-3 days to determine hours of direct light. Most vegetables need 6+ hours; herbs can manage with 4-6 hours.
Step 2: Check Weight Limits
Balconies have weight restrictions. A fully watered vertical garden weighs 15-25 lbs per square foot. Verify your building's limits before installation.
Step 3: Install Support Structure
Mount your chosen system securely. Use appropriate anchors for your wall type (concrete, wood, or metal railing). Ensure the structure is level and stable.
Step 4: Prepare Growing Medium
Use lightweight potting mix with perlite for drainage. Avoid garden soil—it's too heavy and compacts in containers. Add slow-release fertilizer during planting.
Step 5: Plant and Water
Start with transplants rather than seeds for faster results. Water thoroughly after planting and maintain consistent moisture. Most vertical gardens need daily watering in warm weather.
Watering Tips for Success
Vertical gardens dry out faster than traditional containers. Install a drip irrigation timer ($30-50) to maintain consistent moisture. Water in the morning to reduce evaporation and fungal issues.
Common Mistakes to Avoid
- Overloading: Don't exceed weight limits or overcrowd plants
- Wrong plant choices: Avoid large root vegetables and sprawling vines
- Insufficient drainage: Ensure water can escape each pocket or pot
- Ignoring wind: High balconies need wind protection for delicate plants
Seasonal Considerations
Rotate crops seasonally for year-round harvests. Cool-season greens thrive in spring and fall; warm-season herbs and vegetables peak in summer. In winter, move systems indoors or focus on cold-hardy herbs.
Getting Started Today
Begin with a simple pocket planter and 5-6 herb varieties. This low-cost approach lets you learn vertical gardening basics before investing in larger systems. Within 4-6 weeks, you'll be harvesting fresh herbs for your kitchen.
Keep exploring related guides
Follow the topic cluster below to discover more growing methods, troubleshooting advice, and crop-specific tutorials.