Indoor Growing
Growing Microgreens at Home: A Complete Beginner Guide
Learn how to grow nutritious microgreens at home with this comprehensive guide. Discover the best varieties, growing methods, and harvesting techniques for fresh greens year-round.
Microgreens are one of the easiest and most rewarding crops you can grow at home. These tiny powerhouses of nutrition can be harvested in just 7-14 days, making them perfect for impatient gardeners and health-conscious eaters alike.
What Are Microgreens?
Microgreens are young vegetable greens harvested just after the first true leaves develop. They're larger than sprouts but smaller than baby greens, typically measuring 1-3 inches tall. Unlike sprouts, microgreens are grown in soil or growing medium and require light to develop their characteristic colors and flavors.
Why Grow Microgreens at Home?
Growing microgreens at home offers numerous benefits that make them an ideal choice for urban gardeners and anyone interested in fresh, nutritious food:
- Nutrient Dense: Microgreens contain 4-40 times more nutrients than their mature counterparts
- Quick Harvest: Most varieties are ready in 7-14 days
- Year-Round Growing: Grow indoors regardless of outdoor weather
- Minimal Space: A sunny windowsill is all you need
- Cost Effective: A single tray costs pennies but yields several servings
Essential Supplies for Growing Microgreens
Getting started with microgreens requires minimal investment. Here's what you'll need:
Growing Trays
Standard 10x20 inch nursery trays work perfectly. You'll need two trays per growing session—one with drainage holes for planting and one solid tray underneath to catch water.
Growing Medium
Choose a fine, sterile potting mix or specialized microgreen growing medium. Avoid garden soil, which may contain pathogens and pests. Coconut coir mixed with perlite makes an excellent growing medium.
Seeds
Purchase seeds specifically labeled for microgreen growing. These are untreated and tested for germination. Popular beginner varieties include sunflower, pea shoots, radish, and broccoli.
Light Source
A sunny south-facing window provides adequate light for most microgreens. For consistent year-round production, consider LED grow lights positioned 6-12 inches above the trays.
Step-by-Step Growing Process
Day 1: Preparation and Seeding
Fill your tray with 1-2 inches of moistened growing medium. Level the surface gently without compacting. Spread seeds evenly across the surface—they should be close but not overlapping. Mist thoroughly with water and cover with another tray or humidity dome.
Days 2-4: Blackout Period
Keep trays covered in a dark location at 65-75°F. This encourages the seeds to germinate and push upward, creating longer stems. Mist daily to maintain moisture without waterlogging.
Days 5-7: Light Exposure
Once seeds have germinated and stems are 1-2 inches tall, remove the cover and move trays to light. Water from the bottom by pouring water into the solid tray underneath. The growing medium should stay consistently moist but never soggy.
Days 7-14: Growth and Harvest
Continue watering from below and ensure 12-16 hours of light daily. Harvest when the first true leaves appear, typically when microgreens reach 1-3 inches tall. Cut just above the soil line with sharp scissors.
Best Microgreen Varieties for Beginners
Sunflower Microgreens
Large seeds that are easy to handle and germinate quickly. They produce thick, crunchy stems with a mild, nutty flavor perfect for salads and sandwiches.
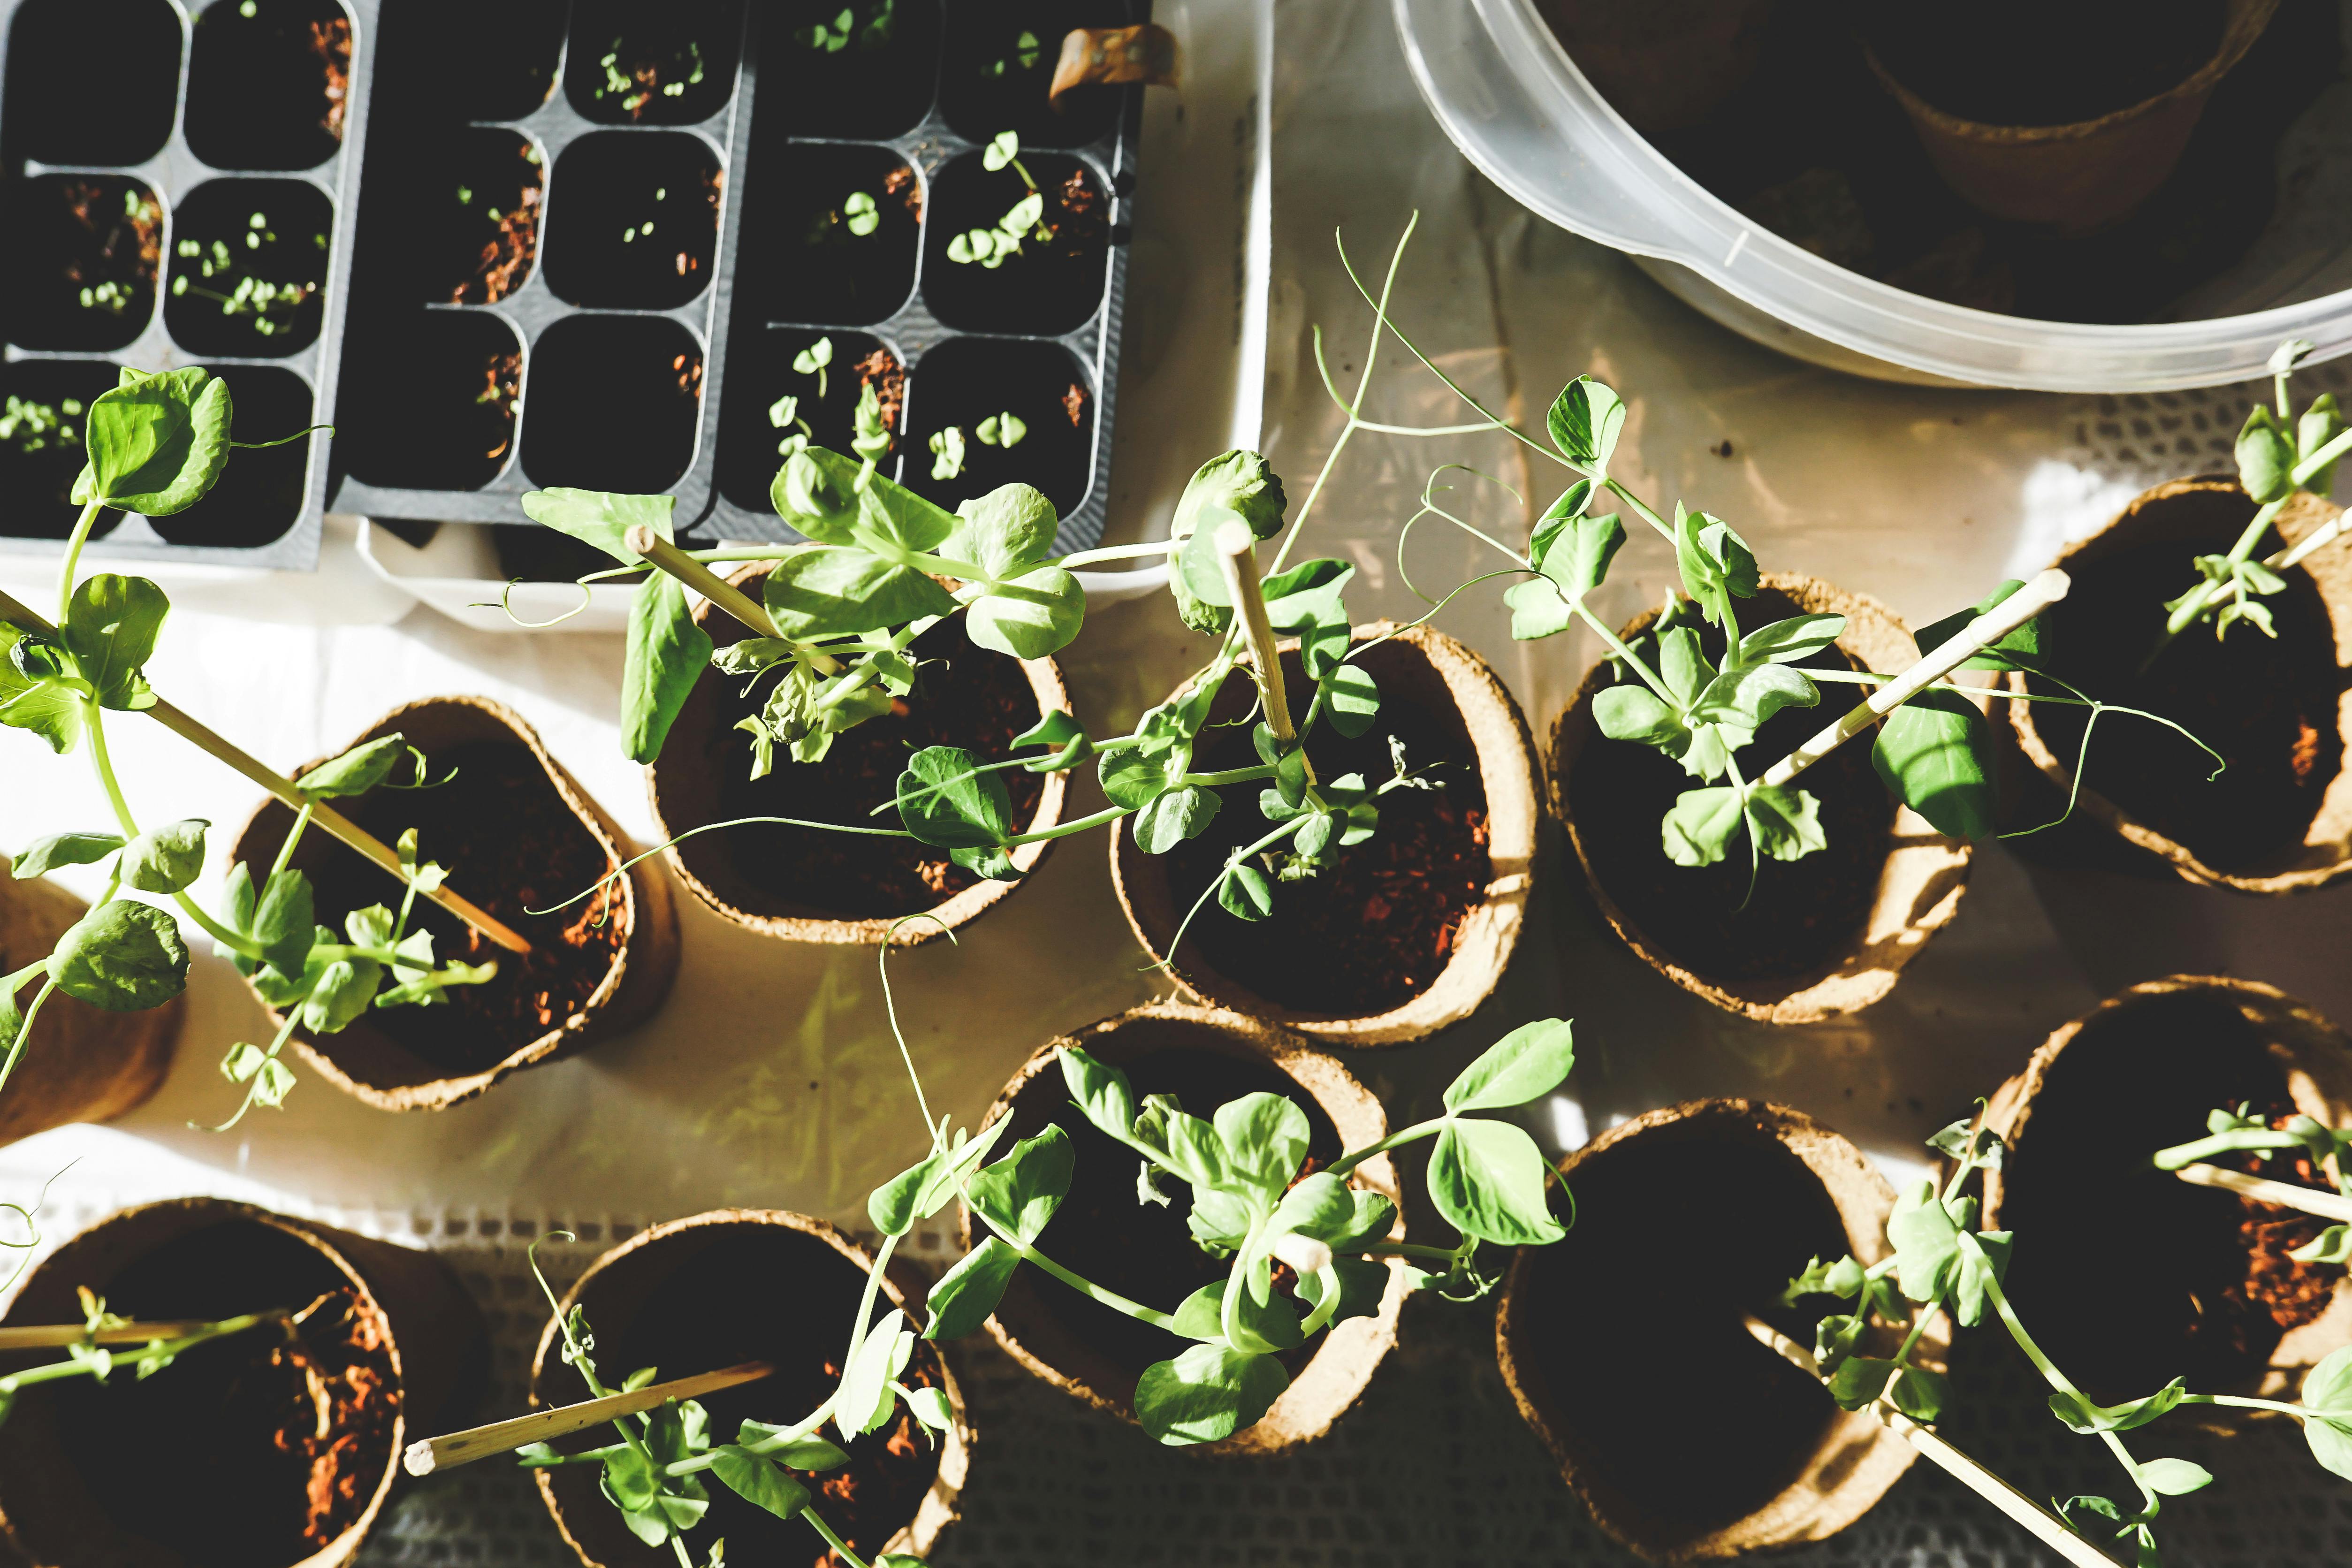
Pea Shoots
Sweet, tender tendrils that taste like fresh peas. They're incredibly versatile and one of the most popular microgreen varieties.
Radish Microgreens
Fast-growing with a spicy kick. Radish microgreens add color and flavor punch to any dish and are ready in just 5-7 days.
Broccoli Microgreens
Mild flavor with exceptional nutritional value. Studies show broccoli microgreens contain up to 100 times more sulforaphane than mature broccoli.
Common Problems and Solutions
Mold Growth
Mold appears as white fuzzy growth, often confused with root hairs. Improve air circulation by removing covers earlier, reducing watering frequency, and ensuring proper drainage.
Leggy Growth
Tall, spindly microgreens indicate insufficient light. Move trays closer to windows or adjust grow light height. Increase light duration to 14-16 hours daily.
Uneven Germination
Ensure seeds are spread evenly and the growing medium is consistently moist. Pre-soaking larger seeds like sunflower and pea for 8-12 hours improves germination rates.
Harvesting and Storage
Harvest microgreens in the morning when they're most hydrated. Cut with sharp, clean scissors just above the soil line. Rinse gently if needed and dry thoroughly before storage. Store unwashed microgreens in a sealed container with a paper towel to absorb excess moisture. They'll keep for 5-7 days in the refrigerator.
Using Your Microgreens
Fresh microgreens elevate any dish with their concentrated flavors and vibrant colors:
- Top salads, soups, and sandwiches
- Blend into smoothies for a nutrient boost
- Garnish main dishes and appetizers
- Add to wraps and tacos
- Mix into omelets and scrambled eggs
Start your microgreen journey today with a simple tray of sunflower or pea shoots. Within two weeks, you'll be harvesting your own fresh, nutritious greens and wondering why you didn't start sooner!
Keep exploring related guides
Follow the topic cluster below to discover more growing methods, troubleshooting advice, and crop-specific tutorials.