Succession Planting
Borage Vertical Planter: Soil Mix & Succession Planting
Learn how to best soil mix borage vertical gardening in your apartment. Step-by-step guide with expert tips.
Why Borage Does So Well with Succession Planting
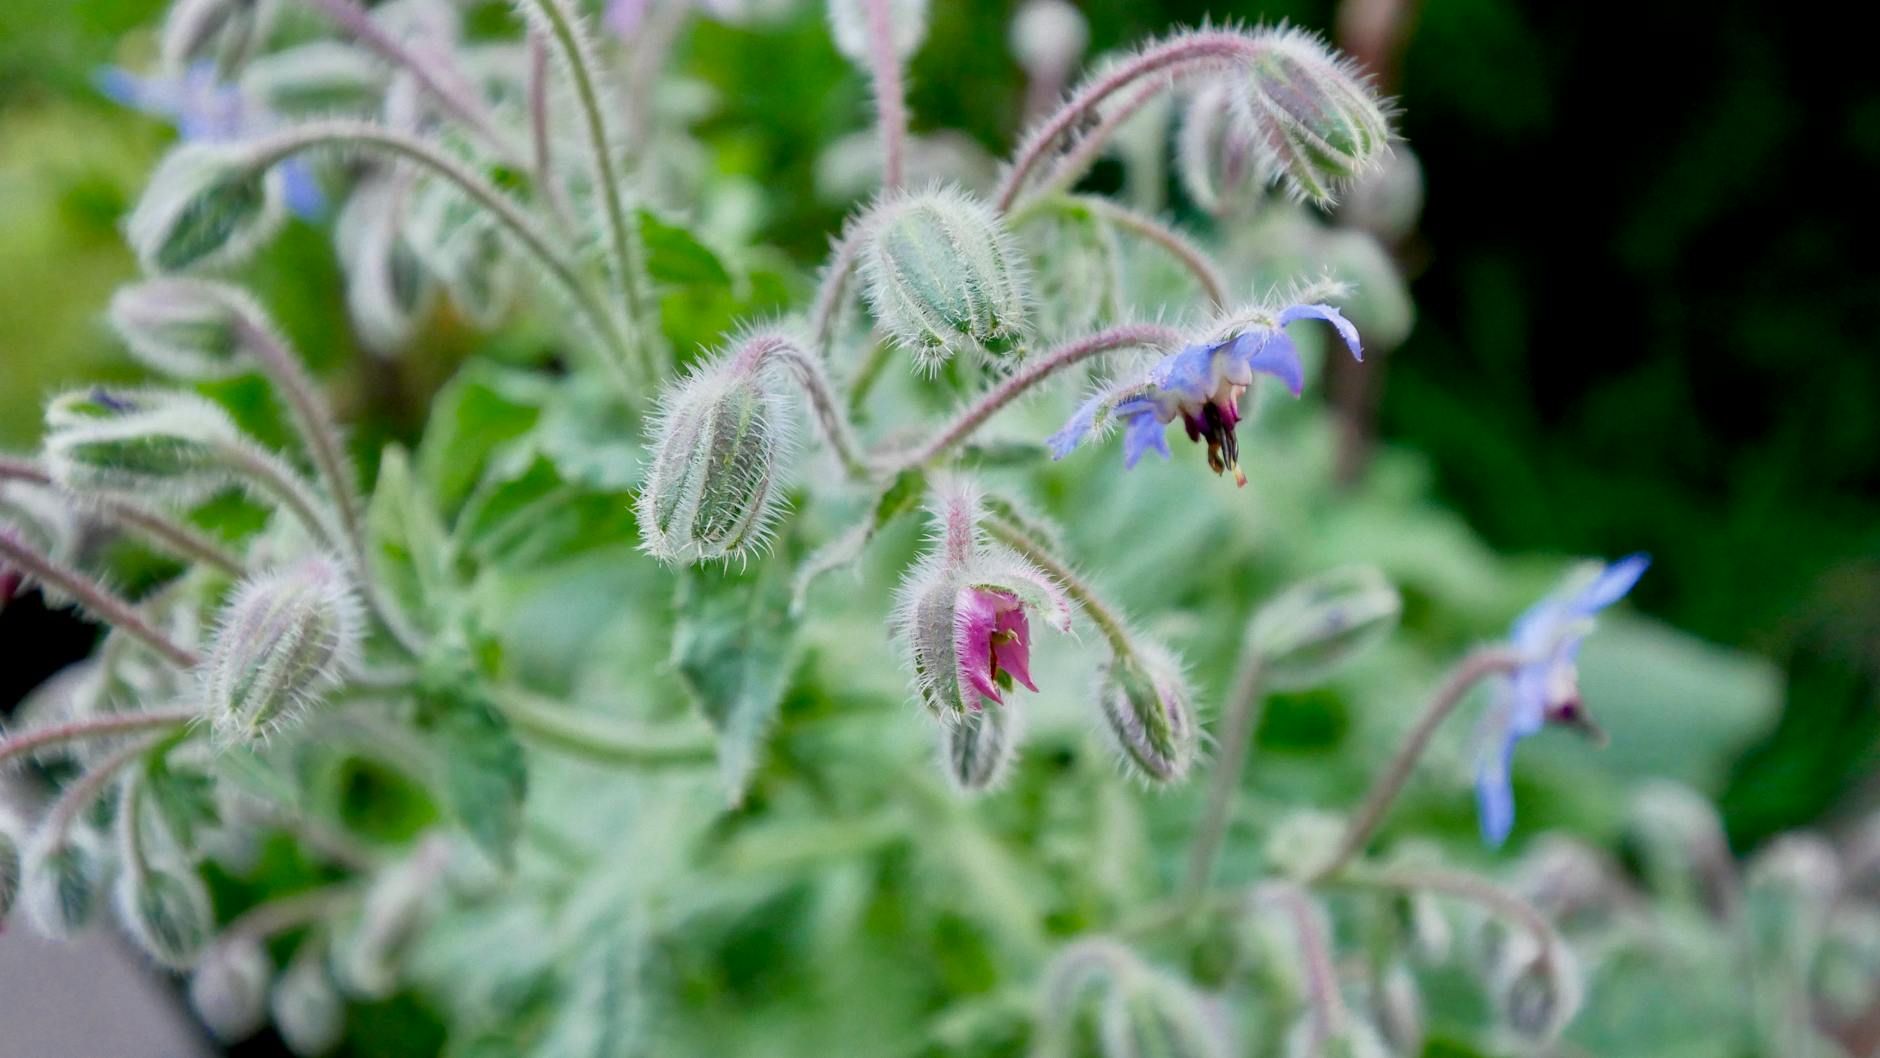
Okay, so let’s talk about borage. Man, do I love this plant! It's one of those unsung heroes of the urban garden, in my opinion. Those star-shaped blue flowers? Absolutely stunning. And the flavor? It's like a cucumber-y, slightly briny fresh goodness that jazzes up salads, drinks, and even makes for an interesting addition to stir-fries. But beyond its obvious charm, borage is an absolute rockstar for succession planting, especially in a vertical setup.
Here’s the thing though: borage grows fast. Like, really fast. It’ll bolt if you’re not careful, which means it puts all its energy into flowering and seeding, and the leaves get tough and bitter. This is exactly why it’s perfect for succession planting. Instead of planting a huge patch all at once and watching it all go to seed at the same time, we're going to trick it into giving us fresh, tender leaves and those gorgeous edible flowers continuously. We're thinking 10-12 weeks of deliciousness from one vertical planter, easy. You don't need a huge backyard for this; it’s all about smart space management and the magic of succession planting.
I’ve grown borage in everything from old tire stacks in Portland to terracotta pots on fire escapes in Brooklyn. But a vertical planter? That’s where it truly shines. It allows you to have multiple "generations" of borage growing simultaneously, each at a different stage. This approach also helps us zero in on the best soil mix for borage vertical gardening to give each plant exactly what it needs.
What You'll Actually Need
Container: Vertical Planter, System: Succession Planting
First up, your vertical planter. I've had great success with those tiered stackable ones, or the pocket fabric types you hang on a wall. For borage, you want individual pockets or sections that hold at least 1-gallon of soil. Too small, and the roots get stressed, plus you’re constantly watering. I learned that the hard way with some pathetic basil in a too-small pocket planter back in Chicago – never again!
The "Best Soil Mix Borage Vertical Gardening" Recipe:
This isn’t just some random dirt, folks. This is the foundation for healthy, happy borage that keeps producing. When someone asks me about the best soil mix for borage vertical gardening, I usually recommend a mix that drains well but still holds onto some moisture, and, crucially, is packed with nutrients. Borage is a fairly heavy feeder, especially when it's pumping out those leaves and flowers.
- 40% High-Quality Potting Mix: Look for something reputable. I often start with a base like FoxFarm Ocean Forest or Espoma Organic Potting Mix for its excellent aeration and nutrient content. It just gives you that head start. Honestly, I think most beginners overthink this part, but a good base potting mix makes a huge difference.
- 30% Compost/Worm Castings: This is your nutrient powerhouse. Use well-rotted compost if you can get it, or good quality worm castings. This adds a slow-release natural fertilizer and improves soil structure. It’s the secret sauce for sustained growth.
- 20% Perlite or Horticultural Grit: For drainage! Borage does not like wet feet. This prevents compaction and allows oxygen to reach the roots. Very important in a vertical setup where water can sometimes just sit at the bottom.
- 10% Coco Coir: This helps with moisture retention without making the mix waterlogged. It’s also pH neutral and adds a nice fluffy texture.
- Optional (but recommended) Boost: A tablespoon or two of an organic slow-release fertilizer (like Espoma Garden-tone or Bio-tone) mixed in per gallon of soil. This gives your borage a little extra oomph, especially important in containers where nutrients get depleted faster.
The Growing Process, Step by Step
Alright, let’s get this party started! We’re aiming for staggered planting over roughly 10-12 weeks.
Phase 1: Week 1 & 2 - The First Generation
- Seed Starting (Week 1): In 2-3 pockets of your vertical planter, sow 2-3 borage seeds directly per pocket, about ½ inch deep. Borage seeds are fairly large, so they're easy to handle. Water gently. Keep the soil consistently moist but never soggy. Keep them in a warm spot, ideally around 65-70°F (18-21°C). Last March, my first borage batch in a vertical planter got leggy because I skimped on light – lesson learned. Now I use a small LED grow light for all my starts.
- Thinning (Week 2): Once seedlings emerge and have their first true leaves, thin them to the strongest single plant per pocket. Trust me on this one; overcrowding leads to weak plants.
Phase 2: Week 3 & 4 - Second Generation & First Feeding
- Second Planting (Week 3): In another 2-3 empty pockets, repeat the sowing process for your second batch of borage. This is where the succession starts!
- First Feeding (Week 4, for Gen 1): Once your first generation plants are about 4-6 inches tall, it's time for their first liquid feed. I usually go with a diluted organic liquid fertilizer like Neptune's Harvest Fish Emulsion. Half strength is perfect.
Phase 3: Week 5 & 6 - Third Generation & Harvesting Begins
- Third Planting (Week 5): Sow your third and final batch of seeds in the remaining empty pockets.
- First Harvest (Week 6, for Gen 1): Your first generation plants should now be ready for their first harvest! Harvest the outer, larger leaves by snipping them off at the base. You can also start picking a few flowers if they've appeared. This encourages bushier growth. Remember, pick a section of leaves from each plant, don't defoliate it completely.
Phase 4: Week 7-12 - Continuous Harvest & Rotation
- Ongoing Harvests: You’ll be harvesting from your different generations as they mature. Harvest Gen 1 regularly. When Gen 2 is ready (around Week 8-9), start harvesting from those. Then Gen 3 (around Week 10-11).
- Fertilizing: Continue feeding all plants with diluted liquid fertilizer every 2-3 weeks, especially after a heavy harvest. Remember container plants need more frequent feeding.
- End of Life / Replanting (When Gen 1 goes South): Around Week 10-12, your first generation borage might start looking a bit tired, going to seed, or becoming less productive. This is the beauty of succession! You can pull those plants out, amend the soil in those pockets with fresh compost, and replant with new borage seeds or even a different herb. My lemon thyme in mason jars often gets rotated into these spots!
Mistakes I've Made (So You Don't Have To)
Look, I’ve killed more plants than I care to admit. It’s how you learn, right? One of my biggest borage blunders happened early on. I thought, "More seeds, more borage!" So I crammed like five seeds into one tiny pocket of a vertical planter. What happened? They all sprouted, got super leggy reaching for light, then started competing for nutrients, and eventually just withered. Only one sad, stretched-out plant survived. Lesson: Don't overcrowd! Give each plant its space. Thin zealously!
Another rookie move was not understanding borage's water needs. I’d either drown them or let them completely dry out. Borage likes consistent moisture, especially in a container, but it *hates* sitting in water. That's why the perlite in our best soil mix for borage vertical gardening is so crucial. If the leaves start looking pale or yellow, check your watering schedule and drainage first.
Little Things That Make a Big Difference
- Light, Light, Light: Borage loves sun. Like, 6+ hours direct sun. If you don't have it, consider a grow light. Indoor growing usually requires supplemental light.
- Pinching and Pruning: Don't be afraid to harvest regularly. The more you pick the leaves and flowers, the more the plant branches out and produces. This is key to preventing it from getting leggy and going to seed too quickly.
- Pollinators: If you're growing outdoors, borage is a huge pollinator magnet! Bees absolutely adore its flowers. It’s a joy to watch them buzz around. If indoors, give your plants a little gentle shake when they're flowering to help with pollination if you want seeds, but for leaves/flowers, it's not as critical.
- Check for Pests: Borage is pretty hardy, but keep an eye out for aphids. A quick blast of water or some insecticidal soap usually takes care of them.
- Soil pH: Borage prefers slightly alkaline to neutral soil (pH 6.0-7.0). Most good potting mixes are in this range. If you're having issues, a simple soil pH test can reveal problems, as Cornell Extension outlines in some of their handy guides.
When to Harvest and What to Expect
You can start harvesting borage leaves when the plants are about 6-8 inches tall, usually around 5-6 weeks after sowing. Snip the outer, larger leaves near the base. These are typically the most tender. New leaves will grow from the center.
The beautiful blue, star-shaped flowers are also edible and appear a few weeks after leaf production starts. Pick these as they open. They make an amazing garnish for drinks, salads, or desserts. The flavor is a light, fresh cucumber-like taste that's truly unique.
With our succession planting strategy, you should be able to enjoy a continuous supply of fresh borage for at least 10-12 weeks, constantly rotating out the older, less productive plants and bringing in fresh ones. This is the ultimate urban gardening hack, folks. It maximizes your small space, ensures a steady yield, and honestly, it’s just incredibly satisfying. Happy growing!
Keep exploring related guides
Follow the topic cluster below to discover more growing methods, troubleshooting advice, and crop-specific tutorials.