NFT Hydroponics
Apartment Lettuce: NFT Hydroponics in a Raised Bed Made Easy
Learn how to apartment NFT hydroponics lettuce in your apartment. Step-by-step guide with expert tips.
Apartment Lettuce: NFT Hydroponics in a Raised Bed Made Easy
Okay, so here's the deal. My buddy Mark was over last week, eyeing my kitchen counter setup, and he just blurted out, "Jamie, how do you even get fresh lettuce in February that tastes like summer at a farmer's market?" And I just grinned. This is the magic of apartment NFT hydroponics lettuce, especially when you pop it into a raised bed. If you've been curious about getting fresh greens year-round without a yard, or even a balcony, you're in the right place. Trust me, it's not as complex as it sounds, and the payoff is incredible.
For years, I dragged soil indoors, battled fungus gnats, and prayed my tiny succulents wouldn't become a snack for a curious cat. But then I stumbled into the world of hydroponics, and specifically NFT (Nutrient Film Technique). It changed everything for my indoor growing game. After years of growing hundreds of different crops in tiny apartments in Portland, then Chicago, and now Brooklyn, I've really honed what works, especially for something as hungry and quick-growing as lettuce. We're talking fresh salad greens in about 3-4 weeks from seed. Seriously.
Why Lettuce Does So Well with NFT Hydroponics
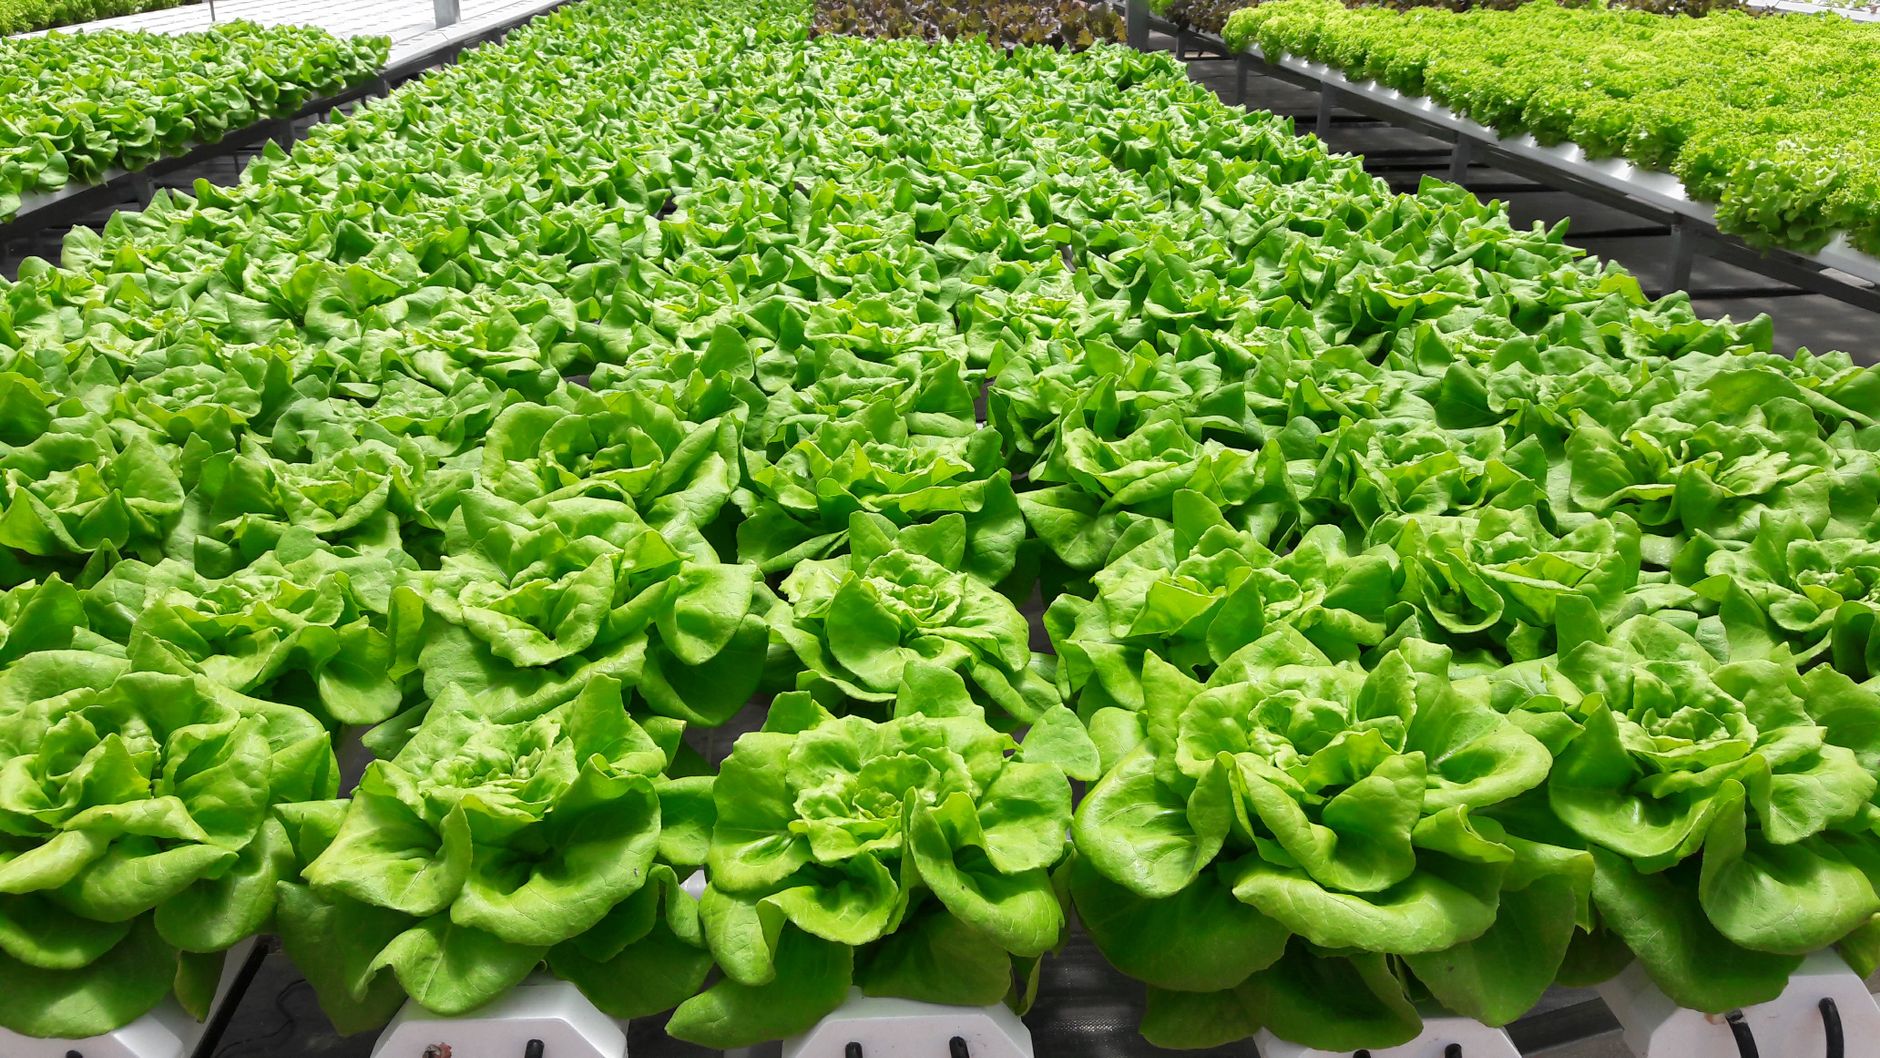
Lettuce, bless its leafy heart, is basically custom-built for NFT hydroponics. Here’s why:
- It's a water baby: Lettuce loves consistent moisture, but hates being waterlogged. NFT systems deliver a thin film of nutrient-rich water constantly over its roots – perfect! No drowning, no drying out.
- Speed demon: Most lettuce varieties mature quickly. With ample nutrients delivered directly, they just rocket from seedling to salad. This is why you can get multiple harvests in such a short amount of time.
- Shallow roots: Lettuce roots aren't super deep. They spread out, which is ideal for the shallow channels of an NFT system. You don't need huge, clunky reservoirs, which is a major win for apartment living.
- Pest resistant (mostly): Without soil, you dramatically cut down on soil-borne pests. Fungus gnats? Practically non-existent. Trust me, the lack of little black flies buzzing around my apartment was a game-changer.
The first time I really embraced apartment NFT hydroponics lettuce was after a particularly brutal winter in Chicago. My typical method of growing in pots just wasn't cutting it – not enough light, inconsistent temps. The NFT system changed my mental landscape. Suddenly, salads became a reality, not just a summer dream.
What You'll Actually Need
I know what you're thinking: "Jamie, this sounds like a science experiment." Not really. You're basically building a super-efficient plant spa. Here's a breakdown of what you'll need for your raised bed NFT setup:
The Container (aka, your raised bed) and the System
- A sturdy, shallow container: Think 4-6 inches deep, and as long/wide as your space allows. You can repurpose an old plastic storage bin, a grow bag, or even build a simple wooden frame lined with pond liner. I've used everything from IKEA storage boxes to custom-built wood planters. Just make sure it's food-safe.
- PVC pipes or gutters: These form your NFT channels. PVC gutters (the half-round kind) are perfect because they already have one open side. You'll need to cut holes for your net pots.
- Net pots: 2-inch net pots are ideal for lettuce.
- Small submersible pump: I use a tiny 40-watt pump; anything designed for small aquariums or hydroponic systems works.
- A reservoir: This can be the bottom part of your raised bed or a separate container. It holds your nutrient solution.
- A clear hose: To connect the pump to your channels.
- Growing medium: Rockwool cubes or coco coir pellets are my go-to. Don't even think about soil in net pots.
- Nutrient solution: Hydroponic-specific nutrients. I've had great success with General Hydroponics FloraSeries. Follow the instructions; don't eyeball this.
- Full-spectrum LED grow light: This is NON-NEGOTIABLE for indoor growing. Trust me, last March, my first lettuce batch in a raised bed got super leggy because I skimped on light – lesson learned the hard way. Look for something in the 20-40W range per square foot of growing area for lettuce.
- Seeds: Your favorite lettuce varieties! I love Black Seeded Simpson, Romaine, and Buttercrunch for this setup.
- pH testing kit/meter: Crucial for maintaining the right nutrient uptake.
The Growing Process, Step by Step
This is where the fun begins. We're aiming for fresh salads in about a month.
- Seed Starting (Week 1):
- Soak your rockwool cubes or coco coir pellets in water for a few hours.
- Plant 2-3 lettuce seeds per cube/pellet, just barely covering them.
- Place them in a tray with a humidity dome (a clear plastic lid works wonders) under your grow light for about 16 hours a day. Keep them moist.
- You should see germination in 3-7 days.
Jamie's Hack: When I'm germinating, I often use a heating mat underneath for a day or two to speed things up, especially in cooler apartments. Just make sure it's not too hot.
- System Setup & Transplanting (Week 2):
- Assemble your raised bed NFT system. Position your PVC channels so they have a slight decline (1-2 degrees) from one end to the other, allowing water to flow. The highest end is where the pump delivers water, and the lowest end drains back into the reservoir.
- Cut holes in your channels for the net pots, spaced about 6-8 inches apart for lettuce.
- Fill your reservoir with water and mix in your hydroponic nutrients according to the product's directions for seedlings or light feeders. Check the pH – lettuce likes it between 5.5-6.5. Adjust with pH Up/Down solutions if needed. Honestly, I think most beginners overthink this pH part, but it really is important for nutrient absorption.
- Once your seedlings have their first true leaves and are about 2-3 inches tall, gently transfer them into the net pots. Place the net pots into the holes in your channels.
- Turn on your pump. Make sure the water is flowing evenly through all channels and returning to the reservoir.
- Growth & Maintenance (Weeks 3-4):
- Keep your grow lights on for 14-16 hours a day. Position them close enough that the plants get good light but not so close they burn – usually 6-12 inches above the plant canopy for LEDs.
- Check your nutrient solution daily. The water level will drop as plants drink. Top off with fresh, pH-balanced water.
- Every 7-10 days, drain your reservoir (or as much as you can) and refill with a fresh batch of nutrient solution. This prevents nutrient imbalances.
- Monitor pH daily and adjust as needed.
- Keep an eye on water temperature. Above 75°F (24°C) can encourage algae growth and reduce oxygen in the water, which isn't good.
You’re going to be amazed at how quickly those leaves start to fill out. The vibrant green leaves and the smell of fresh earth (even without dirt!) are just the best.
Mistakes I've Made (So You Don't Have To)
Look, I've killed more plants than I can count in my early days. It's part of the learning curve. Here are a couple of my bigger blunders with apartment NFT hydroponics lettuce:
- The "More is Better" Nutrient Fallacy: My very first hydroponic attempt was with some sad-looking basil. I thought, "If a little nutrient is good, a lot must be great!" Nope. Burnt roots, yellowing leaves, and a very dead basil plant. Always, always stick to the recommended nutrient concentrations. Less is often more, especially with young plants.
- Ignoring pH: For a while, I saw pH as an optional suggestion. My plants looked sickly, growth was stunted, and I couldn't figure out why. Turns out, even if all the nutrients are there, if the pH is off, the plant can't absorb them. It’s like having a feast in front of you but your mouth is glued shut. Get a decent pH meter – it's worth it.
- Forgetting to oxygenate: Early on, I had a homemade system where the water wasn't flowing quite right. The roots started looking brown and slimy. I learned that roots, even in water, need oxygen! If your pump isn't circulating well, or if the water is too warm, oxygen levels drop. Live and learn, right? Now I always make sure the water is moving and maybe even bubbling a bit where it returns to the reservoir.
Little Things That Make a Big Difference
- Cleanliness is key: Algae loves nutrient-rich water and light. Keep your reservoir covered and use opaque channels. If you see algae, clean it out immediately during your nutrient change-outs. I regularly wipe down all surfaces.
- Air circulation: A small clip-on fan can make a huge difference in preventing mold and strengthening plant stems.
- Plant spacing: While it’s tempting to cram as many plants as possible into your raised bed, give them space. Overcrowding leads to poor air circulation and competition for light, resulting in smaller, weaker plants. For lettuce in this system, 6-8 inches apart is solid.
- Light cycle: Consistency is important. Use a timer for your grow lights. Going from 16 hours active to sudden darkness and vice versa can stress out plants if it's not consistent.
- Think about humidity: Especially in dry apartments, a little extra humidity can help seedlings. Once they're larger, however, too much humidity with poor air circulation can lead to issues.
When to Harvest and What to Expect
This is the satisfying part. You can start harvesting lettuce usually within 3-4 weeks for baby leaves, or let it go another week for larger, more mature heads.
Harvesting lettuce from an NFT system is glorious because it's a "cut and come again" situation. Instead of pulling the whole plant, just snip off the outer leaves, leaving the inner ones to continue growing. This means you can keep harvesting fresh salads from the same plants for weeks, sometimes months. I usually get 3-4 good harvests from a single lettuce plant before it starts to bolt (go to seed) or loses vigor.
You'll notice your lettuce tastes *amazing*. Crisp, fresh, and truly bursting with flavor because it hasn't traveled across the country or sat in a grocery store. The texture is usually beautiful and tender.
So there you have it. My tried-and-true method for getting fresh, delicious lettuce right in your apartment, even in the dead of winter. If you want to dive deeper into growing options for tight spaces, check out my guide on how to grow lettuce in a soda bottle on a balcony or even how to grow lettuce in a takeout container if you're really just dipping your toes in. But for consistent, bountiful harvests, this apartment NFT hydroponics lettuce approach in a raised bed is truly a winner. Your salads (and your wallet) will thank you.
Keep exploring related guides
Follow the topic cluster below to discover more growing methods, troubleshooting advice, and crop-specific tutorials.