Microgreens
Grow mung beans in shallow dish sprouts 5 day
Learn how to grow mung beans shallow dish sprouts in your apartment. Step-by-step guide with photos, calculator links, and supply list.
Why This Method Works
There's something incredibly satisfying about transforming a tiny seed into a vibrant, edible sprout on your countertop. For apartment dwellers like me, with limited space and a hunger for fresh, homegrown produce, learning to grow mung beans shallow dish sprouts has been a revelation. This method capitalizes on the mung bean's rapid germination and growth cycle, allowing you to harvest nutrient-dense sprouts in as little as five days.
The beauty of the shallow dish method lies in its simplicity and efficiency. We're not aiming for mature plants here; we're coaxing the seeds to sprout and develop their cotyledons, which are packed with vitamins, minerals, and enzymes. Unlike growing full-sized plants, which demand specific soil compositions, robust root systems, and ample sunlight, this technique requires minimal inputs. The sprouts primarily rely on the stored energy within the seed itself, water, and ambient room temperature. This makes it a perfect entry point for urban gardeners, as it requires no specialized lighting, elaborate irrigation systems, or even significant vertical space. It's truly a "set it and forget it" (almost!) approach that delivers quick, tangible rewards, boosting your culinary creations with fresh, crisp texture and flavor.
What You'll Need
Gathering your supplies for growing mung bean sprouts is straightforward. You probably already have most of these lying around your apartment!
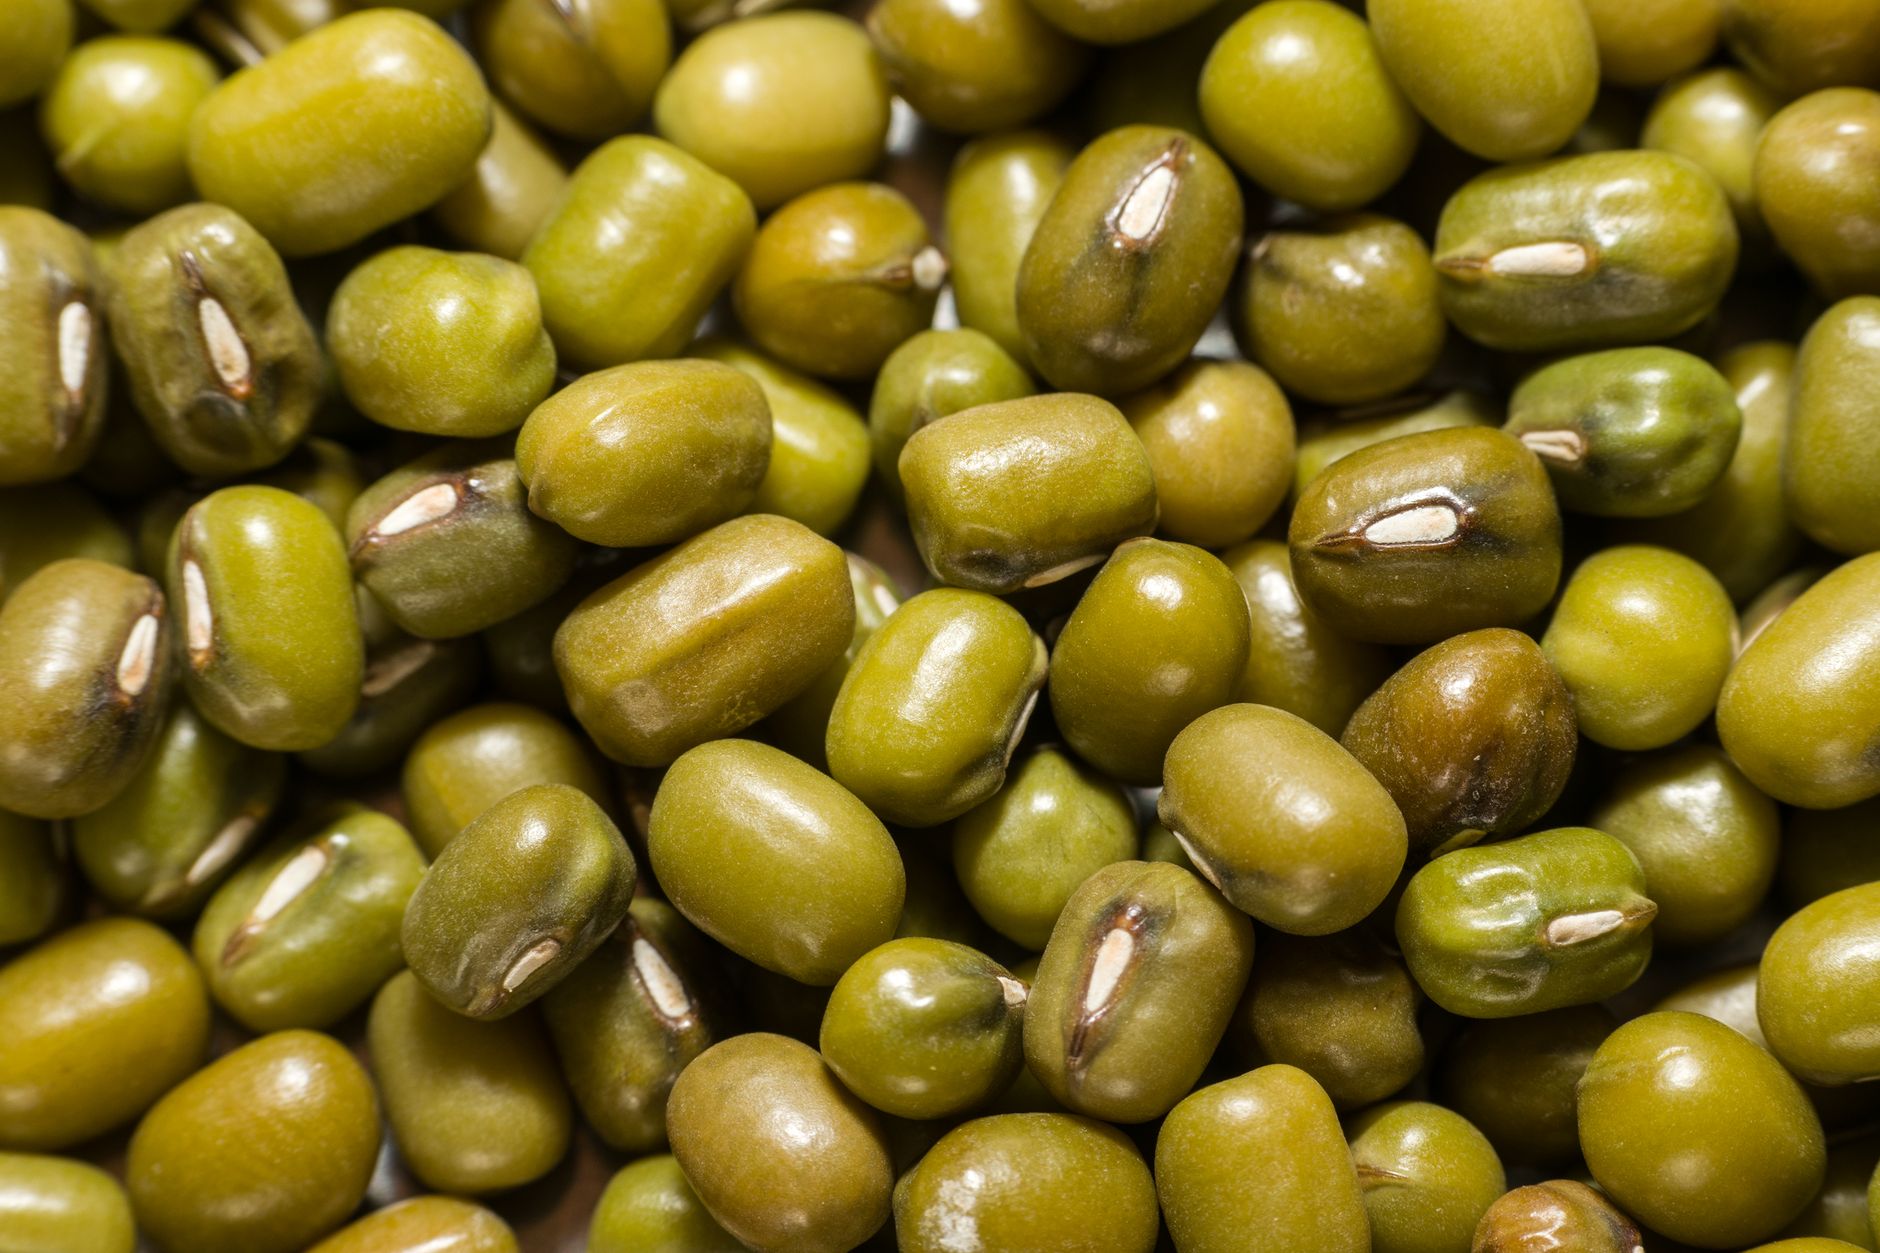
- Mung Beans: Approximately 1/4 to 1/2 cup of whole, untreated mung beans. Look for beans specifically labeled for sprouting, as these are less likely to have been heat-treated or irradiated, which can hinder germination. I usually buy them in bulk from a health food store or online.
- Container: Shallow Dish: A ceramic plate, a glass pie dish, a plastic takeout container lid, or even a deep saucer will work perfectly. The key is shallow, with a lip to hold water, and ideally, broad enough to spread your beans in a single layer. An 8-10 inch diameter is ideal for a good batch without overcrowding.
- Growing System: Microgreens (Modified): While we're not growing true microgreens (which typically involve a thin layer of soil or grow medium), the principles are similar. We're providing a consistently moist environment for quick germination and initial growth without soil.
- Lid or Cover: Another plate, a piece of cardboard, or a tea towel. This is crucial for creating the dark, humid environment that encourages germination and prevents moisture loss.
- Spray Bottle: For gentle and even moistening.
- Colander or Fine-Mesh Sieve: For rinsing the beans.
- Water: Filtered tap water is best, at room temperature. Avoid chlorinated water if possible, as it can be detrimental to delicate sprouts.
For those interested in scaling up or experimenting with other microgreens, I've found that proper planning makes all the difference. You might want to check out our soil volume calculator or plant spacing calculator for precise measurements when moving to larger projects or different seed types.
Step-by-Step Guide
Days 1-3: Setup and Initial Germination
-
Day 1: Soaking (Evening):
- Measure out your mung beans (1/4 to 1/2 cup).
- Place them in a colander and rinse thoroughly under cool tap water for about 30 seconds. This removes any dust or debris.
- Transfer the rinsed mung beans to a clean bowl or jar.
- Cover the beans with 2-3 inches of cool, filtered water. They will swell considerably.
- Leave them to soak overnight (8-12 hours) at room temperature. I usually set them on my kitchen counter away from direct sunlight.
-
Day 2: Spreading and First Rinse (Morning):
- After soaking, drain the mung beans thoroughly using your colander. Rinse them again under cool water for a minute, gently agitating them.
- Spread the drained beans in a single, even layer on your shallow dish. Avoid piling them up, as this can lead to uneven germination and mold.
- Using your spray bottle, mist the beans lightly until they are visibly damp but not sitting in a puddle. You want humidity, not submersion.
- Cover the dish with your lid or second plate to create a dark, humid environment. Store it in a warm, dark place – a kitchen cupboard or even a corner out of direct light works well.
- First Rinse (Evening): Repeat the rinsing process. Take the dish to the sink, remove the lid, and gently mist the beans until they are moist. Drain any excess water that might have collected in the dish by tilting it. Recover and return to its spot. Consistency is key here.
-
Day 3: Regular Rinsing and Early Sprouting:
- By now, you should start seeing tiny "tails" emerging from some of the beans. These are the radicles, the embryonic roots. It's always a thrill to see this!
- Continue the rinsing routine twice a day (morning and evening). Gently mist, drain excess water, and cover. Maintaining this constant moisture without waterlogging is crucial.
Days 4-7: Initial Growth and Harvesting
-
Day 4: Continued Growth and Observation:
- Your sprouts should be visibly growing, with tails becoming longer and thicker. You might even notice the seed coat loosening and some small cotyledons (baby leaves) starting to emerge.
- Maintain the twice-daily misting and draining. Smell the sprouts – they should smell fresh and earthy, not sour or funky. A sour smell is a sign of too much moisture. If that happens, rinse them more thoroughly and ensure better drainage.
-
Day 5: Harvest Time!
- At day 5, your mung bean sprouts should be about 1-2 inches long, with vibrant white tails and possibly tiny yellow cotyledons. This is their prime for harvesting! They'll be crisp and full of flavor.
- To harvest, rinse the sprouts one last time under cool water.
- You can gently pick them out of the dish. Some people like to remove the green hulls (seed coats), but I usually leave them on for extra fiber and nutrients – they're perfectly edible.
- Store the harvested sprouts in an airtight container lined with a paper towel in your refrigerator. They will usually stay fresh for 3-5 days.
Troubleshooting Tip: If you notice a funky smell or slimy texture, it's usually due to poor drainage or infrequent rinsing. Give your sprouts a very thorough rinse, ensure there's no standing water, and increase air circulation if possible. If the sliminess persists or you see mold, it's best to discard the batch and start fresh, ensuring your equipment is meticulously clean.
Common Mistakes to Avoid
-
Overwatering/Poor Drainage: This is by far the most common culprit for failed sprout batches. Mung beans need moisture, but they absolutely detest sitting in standing water. Too much water leads to rot, mold, and that tell-tale sour smell.
- Solution: After each misting or rinsing, ensure you tilt the dish to completely drain any excess water. The sprouts should be damp, not submerged.
-
Under-Rinsing: While overwatering is bad, not rinsing enough is also detrimental. Regular rinsing (twice daily) helps to wash away metabolic waste products that the sprouts excrete, and it rehydrates them.
- Solution: Stick to the twice-daily rinsing schedule (morning and evening). It only takes a minute!
-
Lack of Darkness: Mung beans germinate best in the dark. Exposure to too much light too early can make the sprouts bitter, tough, or cause them to develop more chlorophyll, turning them greener, which isn't ideal for the traditional mung bean sprout texture and flavor.
- Solution: Always keep your dish covered with a lid or another plate, and store it in a cupboard or a dark corner of your kitchen. Only uncover for rinsing.
-
Using Non-Sprouting Seeds: Not all mung beans are created equal. Some are treated to inhibit germination for longer shelf life as dry beans, or they might be old and past their prime.
- Solution: Always purchase mung beans specifically labeled for sprouting. Buy from a reputable source that has high turnover to ensure fresh stock.
Pro Tips for Maximum Success
- Optimal Temperature: Mung bean sprouts prefer a warm environment for rapid growth, ideally between 68-75°F (20-24°C). In cooler apartments, find a slightly warmer spot, perhaps near a refrigerator's exhaust vent (but not directly on it) or on top of a low-wattage heating mat if you're serious. I've found my kitchen countertop is usually sufficient.
- Gentle Handling: When rinsing, be gentle. Mung bean sprouts are delicate, especially when they're young. A gentle mist from a spray bottle is much better than a direct stream from the faucet, which can damage the tender tails.
- Experiment with Harvest Times: While 5 days is my go-to for ideal crunch and flavor, don't be afraid to experiment. If you prefer shorter, sweeter sprouts, harvest on day 4. If you like them a bit longer with more developed cotyledons, go for day 6. Just be aware that longer sprouts can sometimes get tougher.
- Rinsing for Storage: Before refrigerating your harvested sprouts, give them a final thorough rinse under cool water. This helps clean them and removes any lingering hulls. Pat them very gently dry with a paper towel before storing them in an airtight container lined with a fresh paper towel. This absorbs excess moisture and keeps them crisp longer.
There you have it – a simple yet incredibly rewarding way to bring fresh, living food into your apartment. Starting to sprout mung beans in a shallow dish is a fantastic first step into urban gardening. It's low-commitment, fast, and yields delicious results you can enjoy in salads, stir-fries, sandwiches, or as a crunchy garnish. Don't hesitate to dive in today! And remember, when you're ready to expand your indoor garden, our free calculators are always there to help with precise measurements and planning.
Keep exploring related guides
Follow the topic cluster below to discover more growing methods, troubleshooting advice, and crop-specific tutorials.